

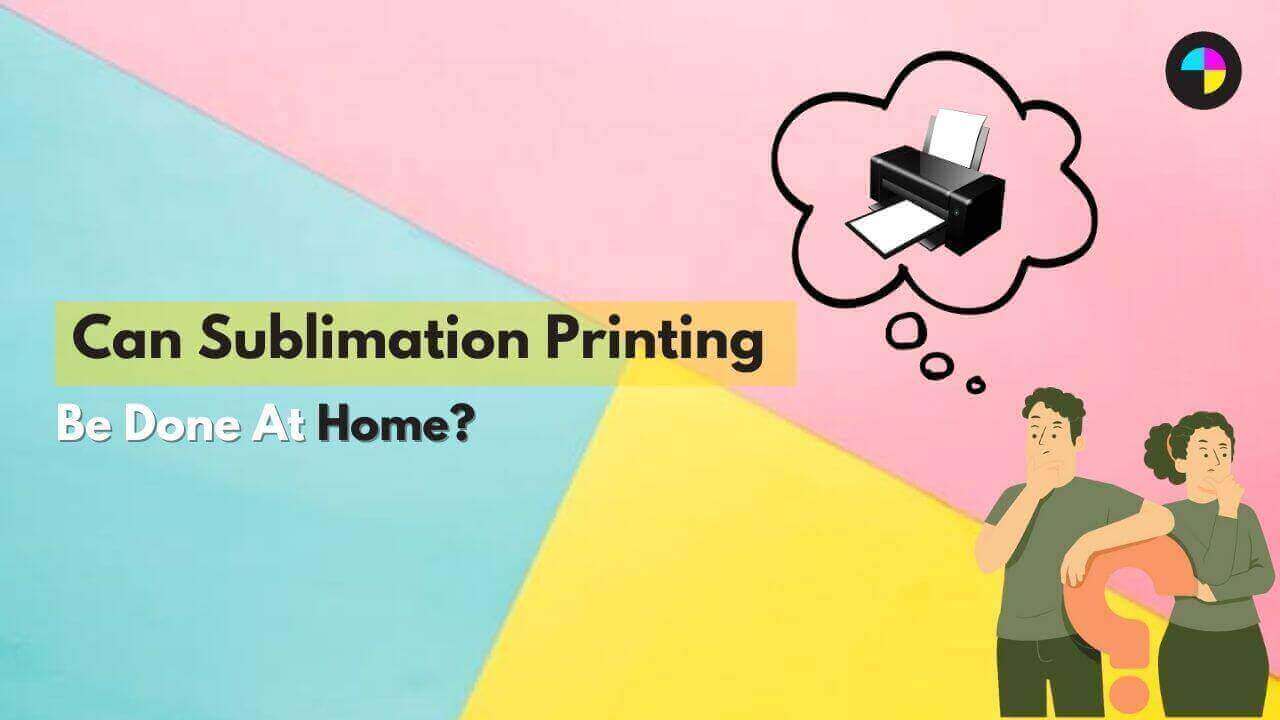
Sublimation Printing is a booming method in the world of crafting. Yes! It can be done at home, but there are some essential guidelines that need to be followed. You can easily create bright, long-lasting designs on t-shirts, socks, and hoodies at home. Let’s check out how.
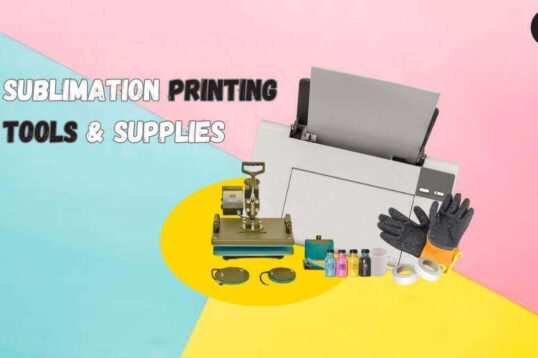
Mandatory Equipment For Printing At Home
Here is the list of the essential equipment required to start dye–sub printing at home
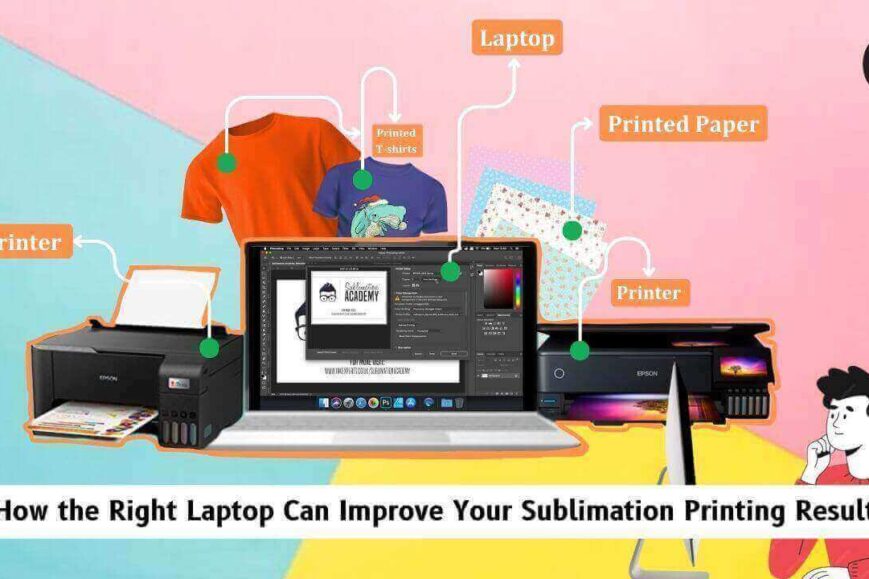
1. Choose a printer
Choosing a printer is mandatory to begin printing at home. It will be great if you can get an actual heat transfer printer, but you can also convert any regular or inkjet printer to get vibrant prints.
2. Printing paper
It is a thicker type of paper that infuses ink. When it is heated using a heat press, the ink on the paper turns into a gas and enters the surface of the substrate. It can be used at home but with proper protection.
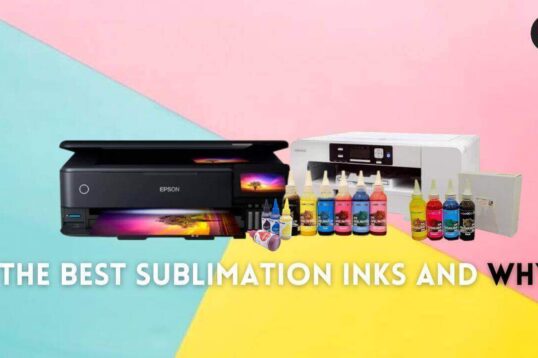
3. Printing Ink
Ink plays the primary role. Using the best inks can lead to stunning results. The most common and budget-friendly dye-sub ink is the Hiippo ink.
4. Blanks
Blanks required for printing should have a polyester coating so that the results are excellent.
5. Designs and software
Create your design using software, and then print your design onto a material such as t-shirts, mugs, sweatshirts, etc.
6. Heat source
A heat press is required to transfer the design from the printing paper to the substrate.
7. Protective paper
Protective paper is used to protect the heat generated by heat presses during the printing. These papers also absorb the printing ink to offer high-quality prints.
8. Heat-resistant tape
This tape is needed to secure the design on the substrate. Some of the standard heat-resistant tapes are 3M and Scor Tape.
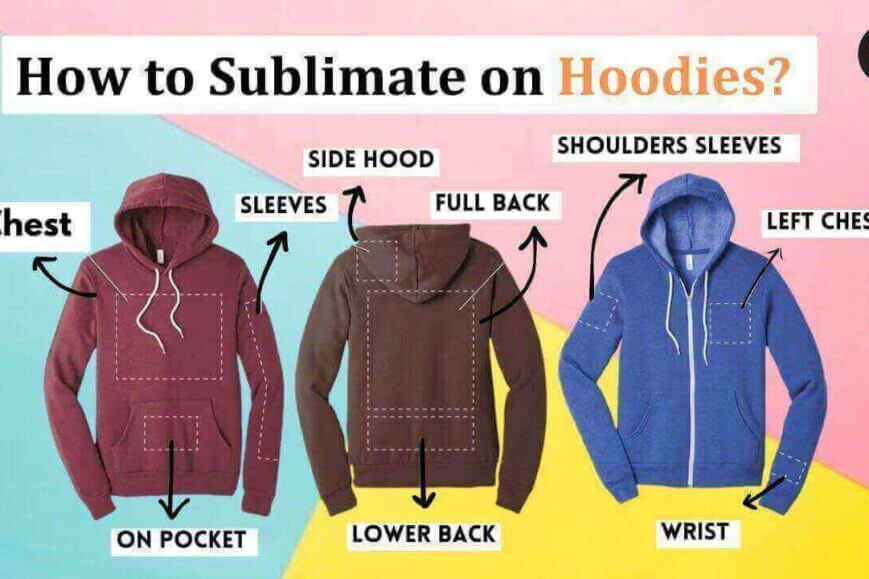
9. Use 100% Polyester shirt
To get stunning results in your first crafting project, use lightweight and 100% polyester material. Avoid using natural materials like silk or cotton as they have less absorption behavior.
10. Lint roller
Use a lint roller to remove or clean any moisture from printing paper or shirts before initiating the printing process.
11. Cutting machine
Cutting machines are required to cut the extra printing paper.
How To Sublimate At Home?
Here is the step-by-step guide to sublimating at home.
1. Gather material
You need to have all tools and supplies like paper, heat press, heat-resistant gloves, blanks, inks, printers, and other additional items.
2. Select design
Now, choose the design that you want to print. Try to convert the image resolution to 150 dpi (dots per inch), which is ideal for heat transfer printing.
3. Print the design
Print the design on the printing paper using the printer and ink. Make sure to print it in the center of the paper.
Remember to adjust the paper type, print quality, and other settings before starting printing. Once the design is printed, let the printed paper cool down.
It takes around 6-8 minutes for a regular paper to cool appropriately. However, the time varies for different papers.
4. Prepare the substrate for printing
Preheat the heat press, following the manufacturer’s instructions. Preheating is required for better results. Use a lint roller to prevent moisture from the substrate.
Now, prepare the materials on a heat press machine and place the printed design onto the materials. Do not forget to use protective paper on top of the design to protect the heat press from any ink-licking issues.
Next, close the heat press and create pressure; the temperature required is around 385 °F for a max of 60 seconds.
5. Cool and peel
Finally, when sublimation is done, let the printed material cool down or use a heat gun to allow the material to cool down faster. Then, carefully peel away the paper to reveal the design.
Conclusion
Dye – Sub printing at home is simple when you follow each step carefully. Follow the above guidance to create beautiful prints as a beginner. So, feel free to try this printing at home and share your experiences in the comments.


Leave a Reply